


How to Take a Screenshot on Windows PC (Step-by-Step with Icons)
Learn how to capture your screen on any Windows PC with this simple step-by-step guide. Whether you need to take a full-screen shot, capture just the active window, or snip a specific area — we’ve got you covered. This tutorial includes keyboard shortcuts, visual icons, and tips for using built-in Windows tools like Snipping Tool and Snip & Sketch. Perfect for beginners and professionals alike, this guide will help you take screenshots efficiently and save or share them in seconds.
What you’ll learn:
- How to use Print Screen, Alt + PrtScn, and Windows + PrtScn
- How to snip specific areas using Windows + Shift + S
- Where your screenshots are saved
- How to edit and save screenshots in Paint
- How to use Snipping Tool & Snip & Sketch effectively
- Visual keyboard icons for every method
- Whether you’re saving an image, troubleshooting an issue, or creating content — this Windows screenshot guide is your go-to resource.

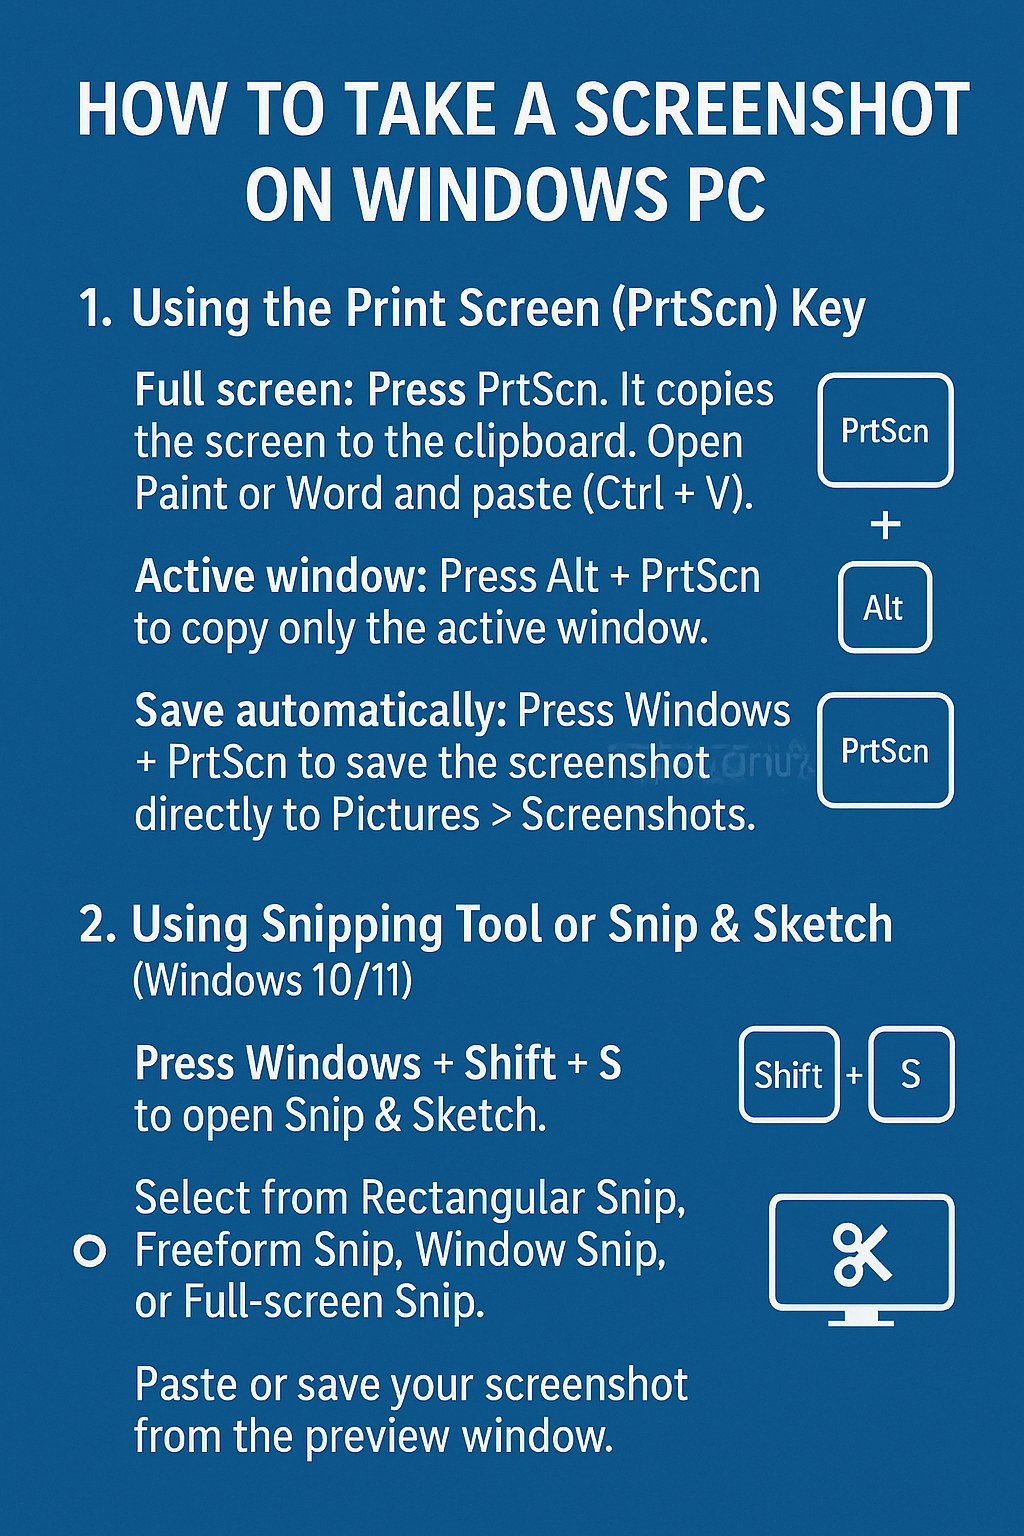
1. Capture the Entire Screen
- Press PrtScn (Print Screen) key.
- Result: Captures the entire screen and copies it to the clipboard.
- Next Step: Open an image editor like Paint, then press Ctrl + V to paste the screenshot.
2. Capture the Active Window
- Press Alt + PrtScn.
- Result: Captures only the currently active window and copies it to the clipboard.
- Next Step: Open an image editor like Paint, then press Ctrl + V to paste the screenshot.
3. Capture a Specific Area (Snipping Tool)
- Press Windows + Shift + S.
- Result: Opens the Snipping Tool with options:
- Rectangular Snip
- Freeform Snip
- Window Snip
- Full-screen Snip
- Next Step: Select the desired snip type, capture the area, and the screenshot is copied to the clipboard.
4. Automatically Save Full-Screen Screenshot
- Press Windows + PrtScn.
- Result: Captures the entire screen and automatically saves it to the Pictures > Screenshots folder.
5. Use the Snipping Tool Application
- Open: Click on the Start button, type “Snipping Tool,” and open the application.
- Choose Mode: Click on “Mode” to select the snip type:
- Free-form Snip
- Rectangular Snip
- Window Snip
- Full-screen Snip
- Capture: Click “New” to start the snip.
- Save: After capturing, click on the floppy disk icon to save the screenshot.
6. Use the Snip & Sketch Tool
- Open: Click on the Start button, type “Snip & Sketch,” and open the application.
- New Snip: Click on “New” or press Ctrl + N.
- Capture: The screen will dim, and you can select the area to capture.
- Edit & Save: After capturing, you can annotate, crop, and save the screenshot within the application.
By following these steps, you can easily capture screenshots on your Windows PC using various methods tailored to your needs.